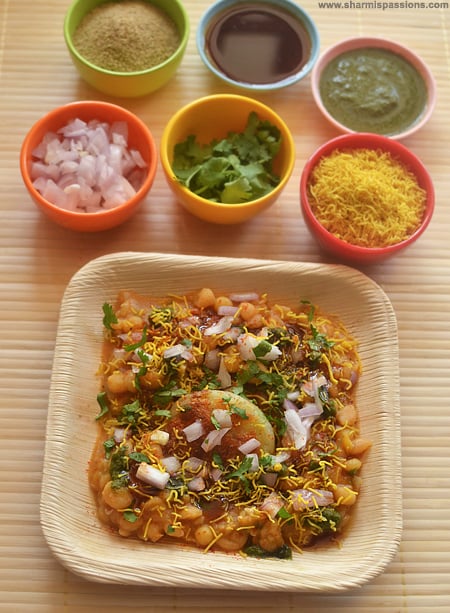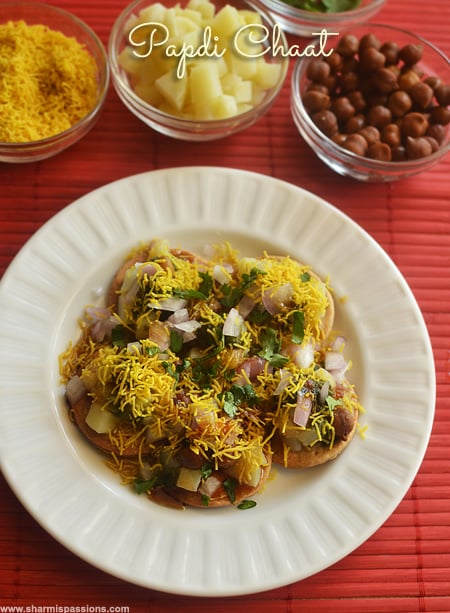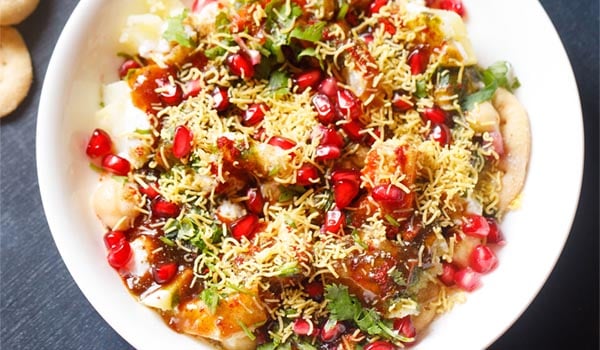
When in North India, one of the uber essential chaat snacks that you cannot miss trying is the Papdi Chaat. It is a popular North Indian street food snack filled with a variety of mouth-watering textures and flavors. Papri Chaat, as a whole, is literally a party for your palate as it includes chickpeas, potatoes, various chutneys, curd (yogurt,) crunchy papdis, sev and refreshing coriander leaves in it. When you make this scrumptious snack at home, serve it immediately.
Delhi-Style Papdi Chaat Recipe
‘Papdi’ or ‘papri’ refers to crispy fried flour crackers that are made with either whole wheat flour (atta) or all-purpose flour (maida).
Whereas, ‘chaat’ means an array of mouth-watering snacks in Indian cuisine that are known to possess all the 4 basic taste profiles along with the 5th one or umami. The word ‘chaat’ also means ‘to taste’ or ‘to lick.’ Thus, very aptly, the name Papdi Chaat too.
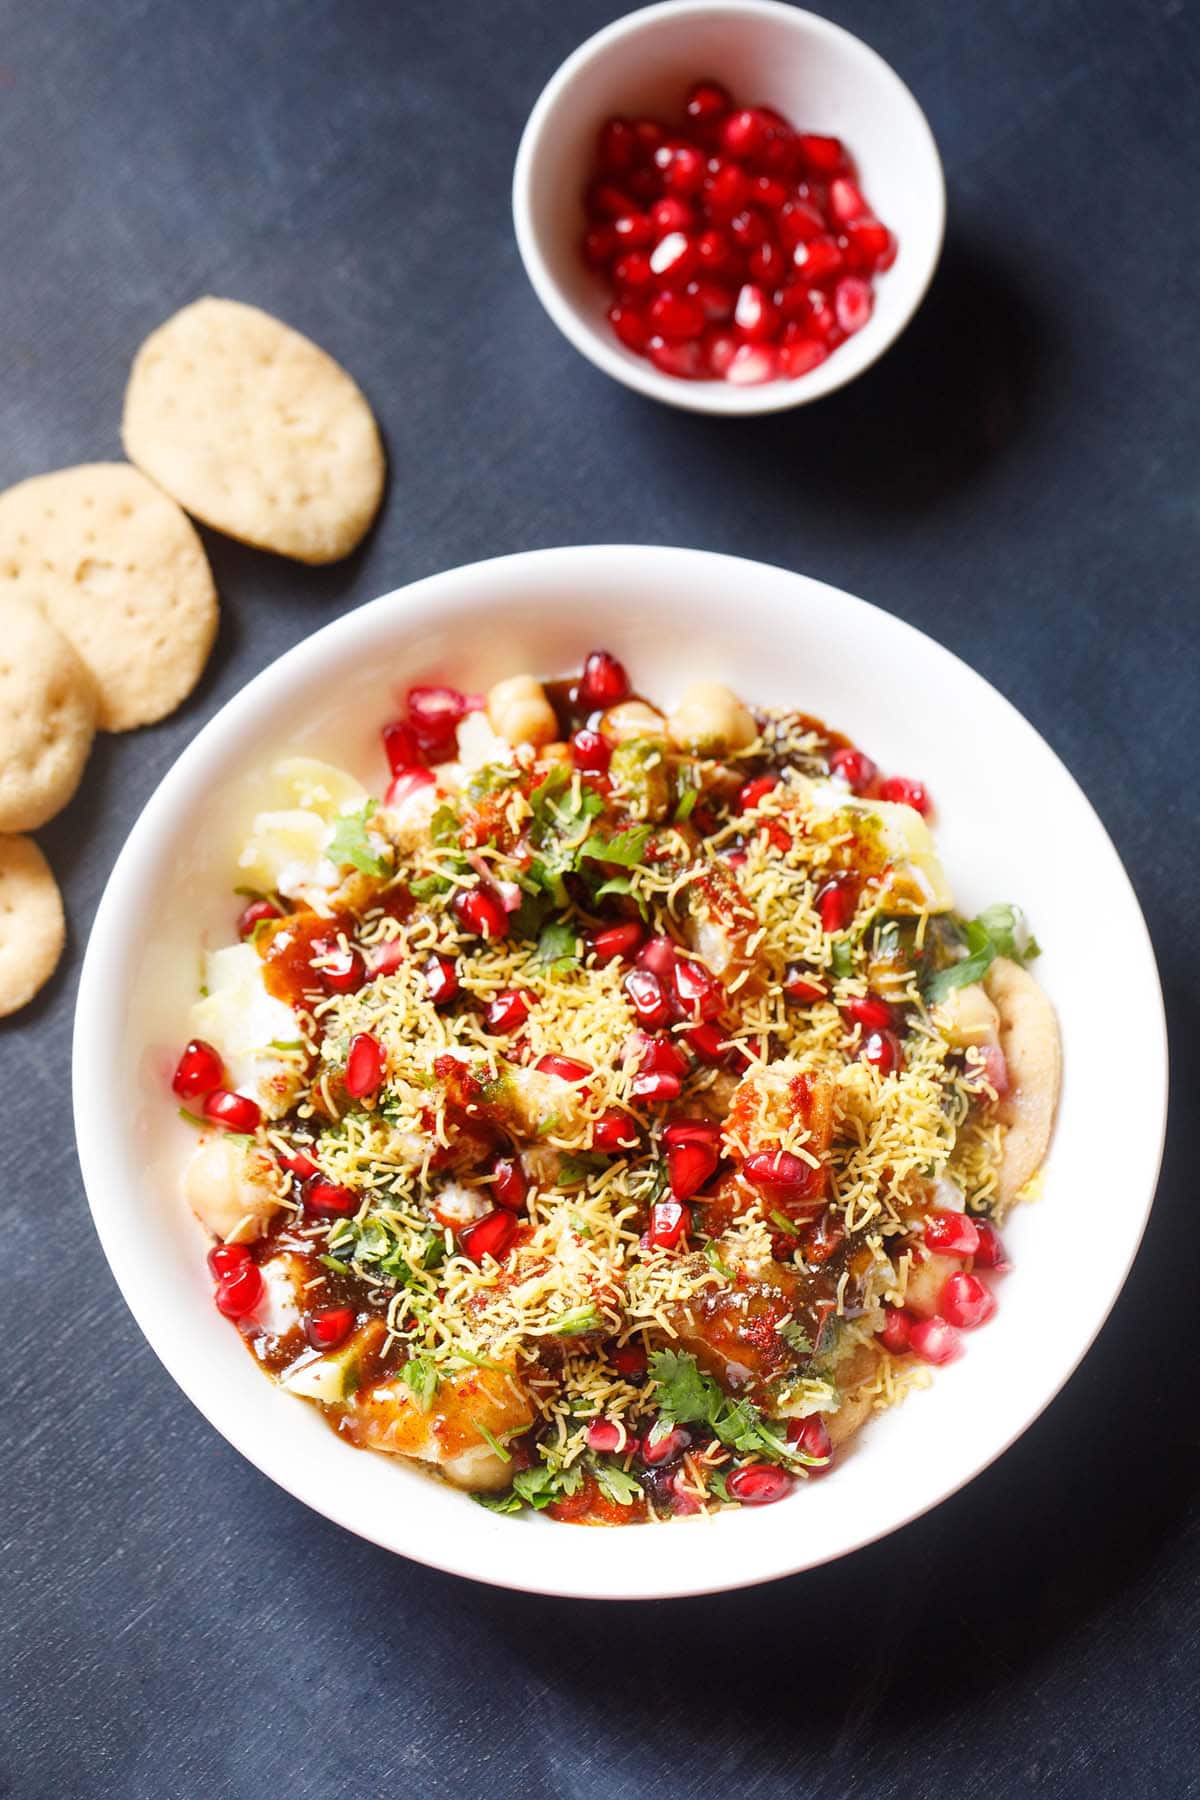
Papdi Chaat is a popular and super tasty street food chaat dish from the North Indian food repertoire. This easy snack is made with Papdi (a.k.a fried flour crisps or crackers), boiled chickpeas, potatoes, pakoris (fried black gram fritters), curd (yogurt), spices and various chutneys.
Although, more North Indian in nature, the Papdi Chaat is also an integral part of the street food scene of the ‘city of dreams’ Mumbai in Maharashtra. Even I had the chance of savoring this dish for the first time at a restaurant in Mumbai itself. It was truly one of the best I had ever had!
In this part of the country, Mumbai – papdi isn’t just used in papdi chaat. It’s a key ingredient in many other popular chaat snacks like Sev Puri, Pani Puri, Bhel Puri, Dahi Puri, etc. Being from Mumbai, I make all of these at home too.
The papdis for this Papdi Chaat can be homemade or also store-bought. They are not difficult to make and you also have the option to either deep-fry, air-fry or bake these Indian style crisp crackers.
A Papdi Chaat made with baked papdi is definitely a healthier option. I have also shared the recipes of both fried and baked papdi on my blog. You can check it here too, on this post of Papdi Recipe.
This papdi chaat recipe is an authentic Delhi-style version, where onions and tomatoes are not traditionally used. The flavors come from the curd, chutneys, and spice powders.
While some regional variations across the many Indian states, may include finely chopped onions or tomatoes, they are optional and not part of the classic Delhi preparation.
In this recipe I have used all the ingredients except the urad dal pakoris (urad dal fritters). The pakoris are made exactly like the bhallas made for the very delicious Punjabi style Dahi Bhalla.
If you decide to make the pakoris, then after deep frying, let them cool and then soak in water for some time. Squeeze the water from them and add it to the Papdi Chaat before you top it with the curd and the chutneys.
Papdi Chaat is not difficult or time-consuming to make and can easily be prepared at home. The first time I made it at home, everyone was really impressed as it tasted exactly like the one from a restaurant or street side vendor.
More Delhi style chaats you may like:
How to Make Papdi Chaat
Cook Chickpeas and Potatoes
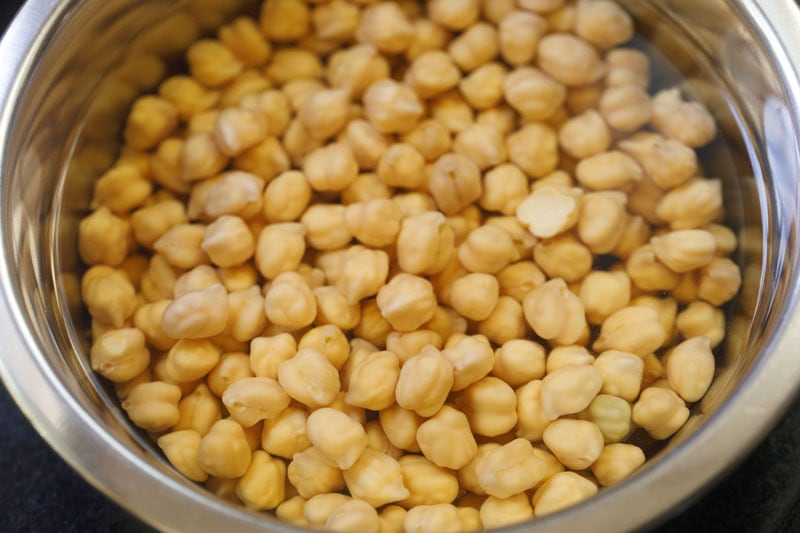
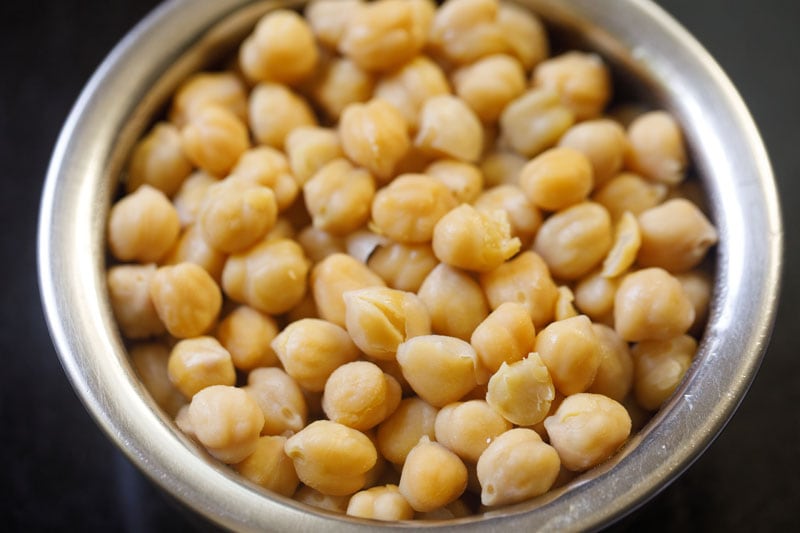
1. Start by prepping the ingredients for Papdi Chaat. You’ll need cooked chickpeas or canned chickpeas. I prefer to use cooked chickpeas. So, I always soak them overnight or for 8 to 9 hours in water.
Rinse 1 cup chickpeas a couple of times in fresh water. Then, soak in 3 cups water overnight or for about 8 hours. Below is the picture of overnight soaked chickpeas in water.
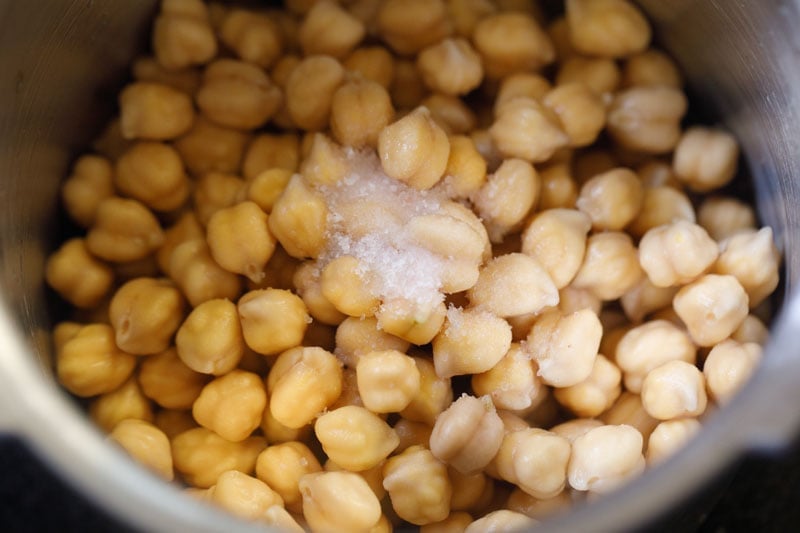
2. Rinse the soaked chickpeas again, drain the water and add to a 2-liter stovetop pressure cooker with ½ teaspoon salt.
If you are using canned chickpeas, rinse and drain the water. Measure to get 2.5 to 3 cups canned chickpeas and then move to step 10.
But you will need to cook the potatoes, if you plan to add them. So, either steam them or cook in a pan or pot.
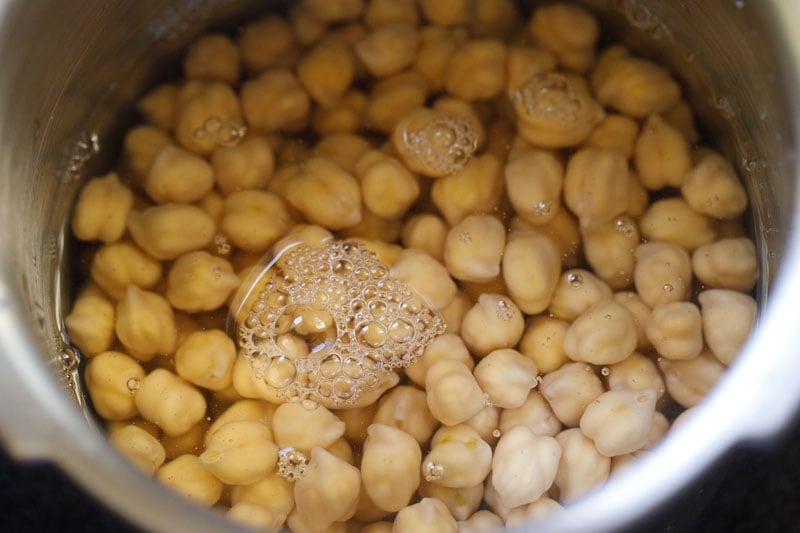
3. Add 2 cups water.
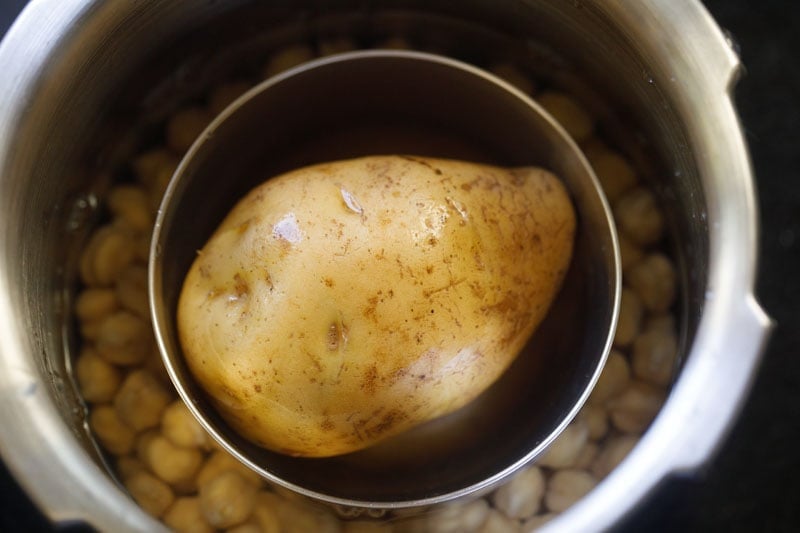
4. Place a steel bowl on the chickpeas in the cooker. Rinse and place 1 medium-sized to large potato inside the bowl. The potato and chickpeas will be cooked together.
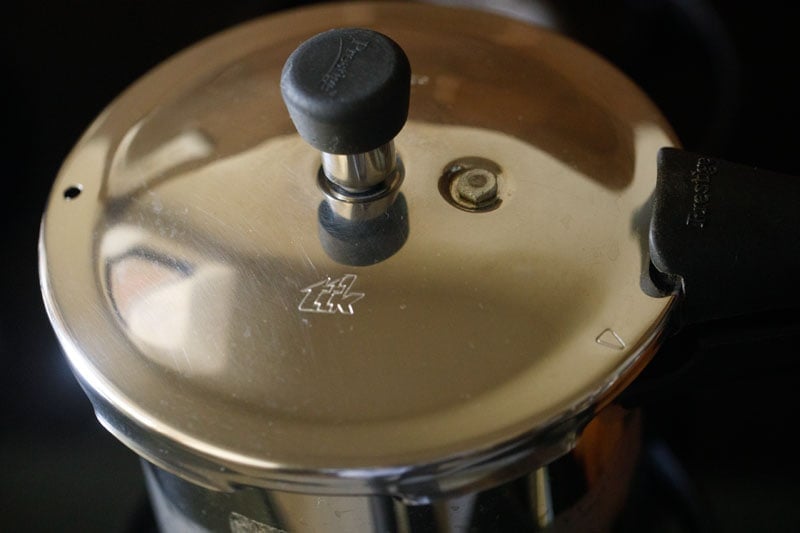
5. Cover the cooker tightly with the lid and pressure cook on medium heat until the pressure starts building and you hear the hissing sound in the cooker. Then, lower the heat a bit and pressure cook for 10 to 12 whistles.
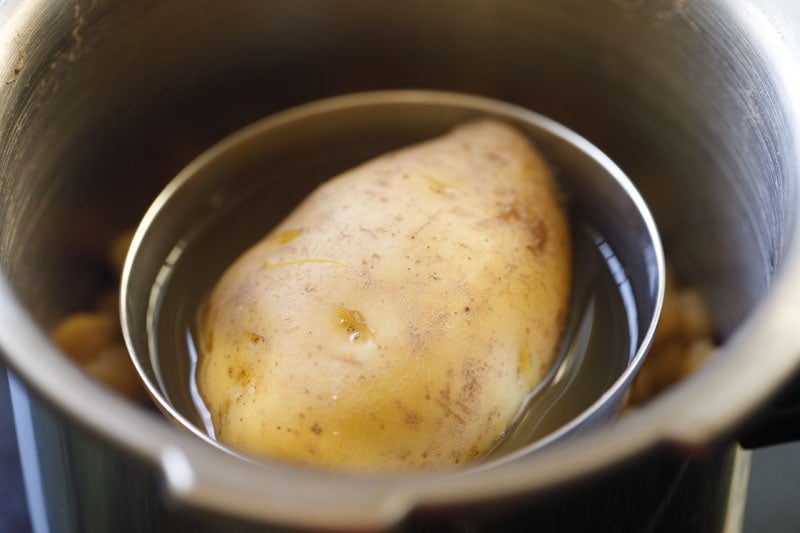
6. When the pressure settles down naturally, then only remove the lid.
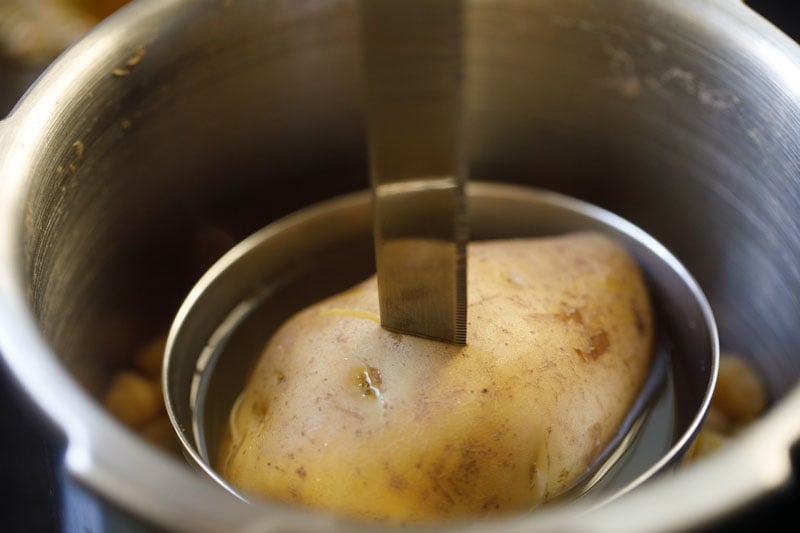
7. Check the potato by piercing it with a knife or fork. It should be tender and softened and the knife should easily pass through it. Lift the potato with a pasta tong and keep aside to cool to room temperature.
8. Check to see if the chickpeas are cooked. It should have a soft melt-in-mouth texture.
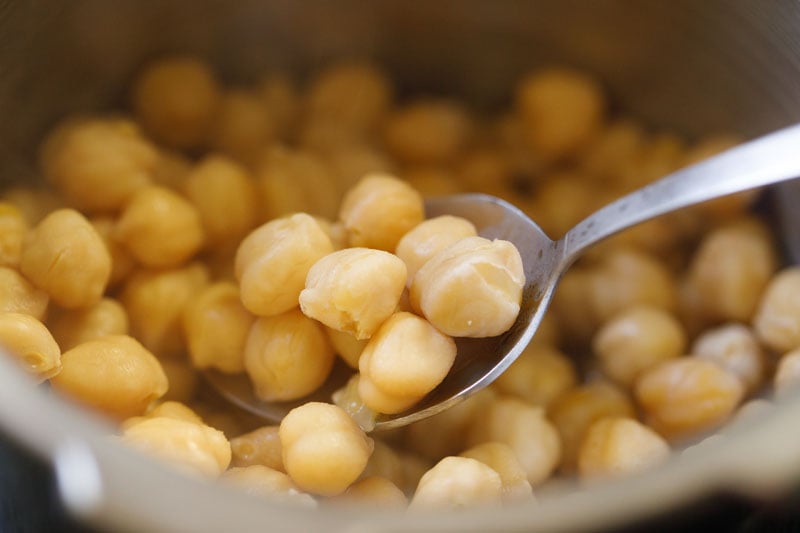
9. Drain the water and keep the chickpeas aside.
More Preparation
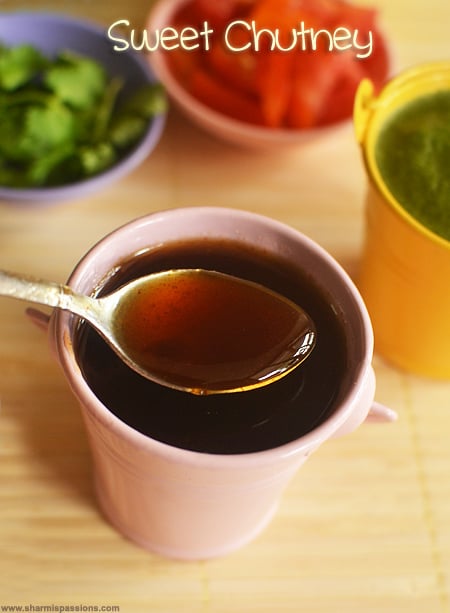
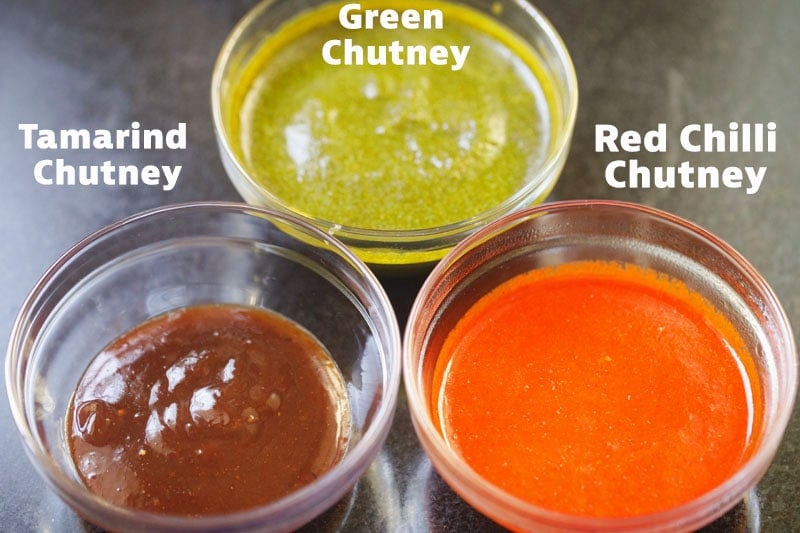
10. Prep the chutneys for the chaat. Make them a day ahead or make them while the chickpeas are cooking. The chaat chutney recipes are listed in the recipe card below as well as here.
You have to include both the green chutney and tamarind chutney. But feel free to skip the red chili chutney, if you don’t like the chaat to be spicy and pungent.
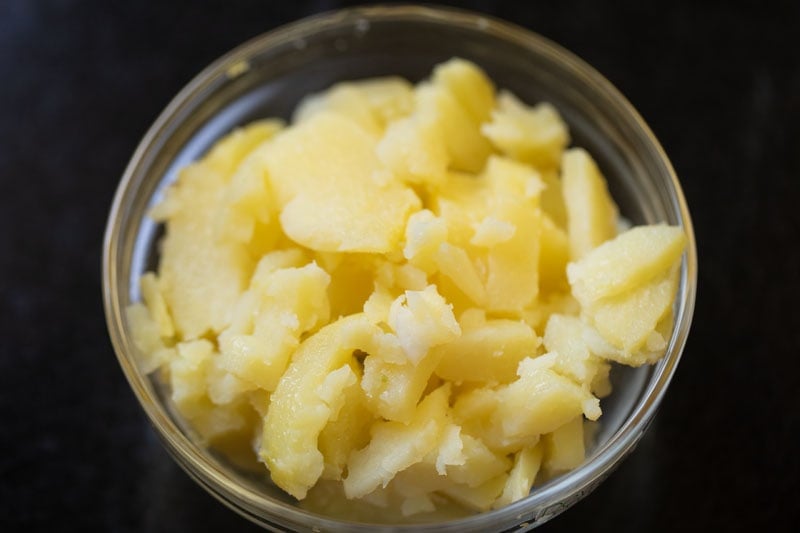
11. Once the potatoes are warm, peel and chop into small cubes.
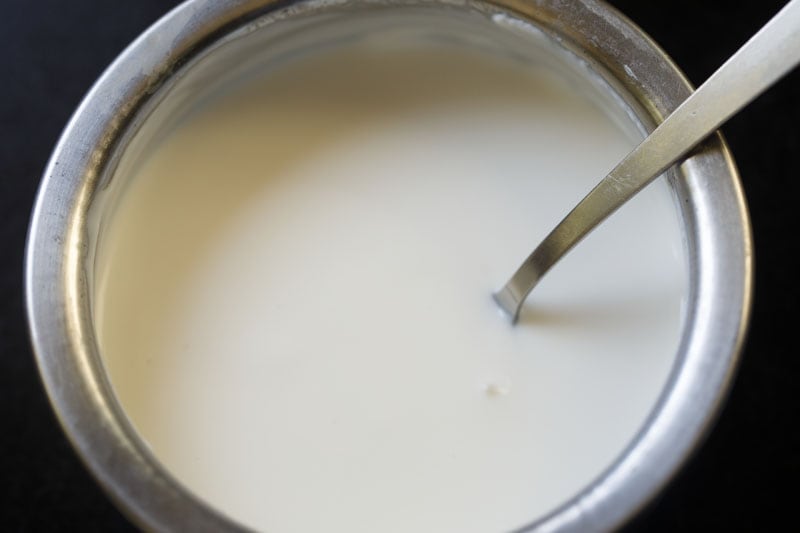
12. In a separate bowl, beat 1 cup curd (yogurt) using a spoon or wired whisk until smooth.
Ideally, the curd is chilled when making this chaat. But you can opt for a room temperature curd.
Make Papdi Chaat
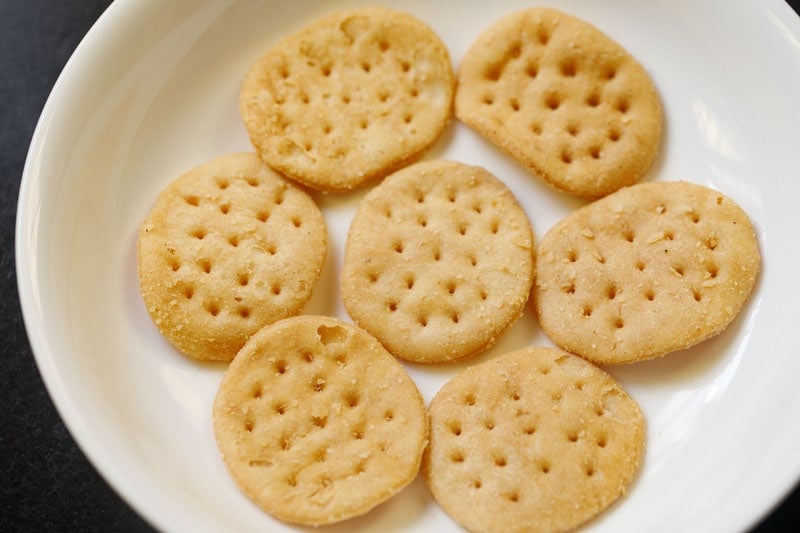
13. Arrange 6 to 8 papdis in a shallow bowl or plate.
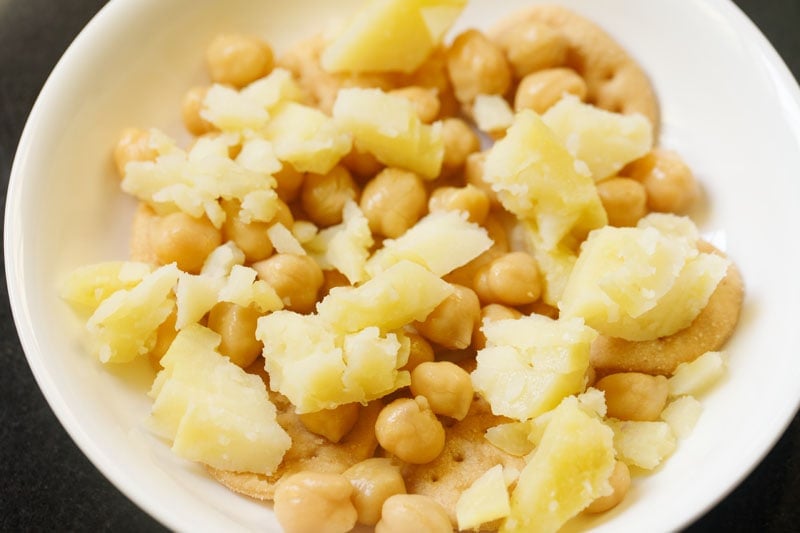
14. Top the papdis with boiled potatoes and boiled chickpeas. At this stage, you can also add some finely chopped onions and tomatoes.
Onions add a delicious crunch to the chaat while tomatoes add a sweet tangy flavor.
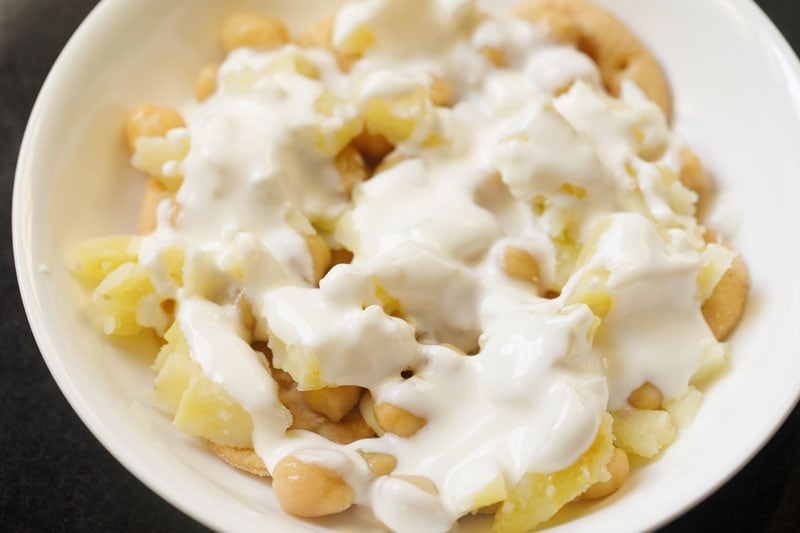
15. Add a generous quantity of freshly beaten curd.
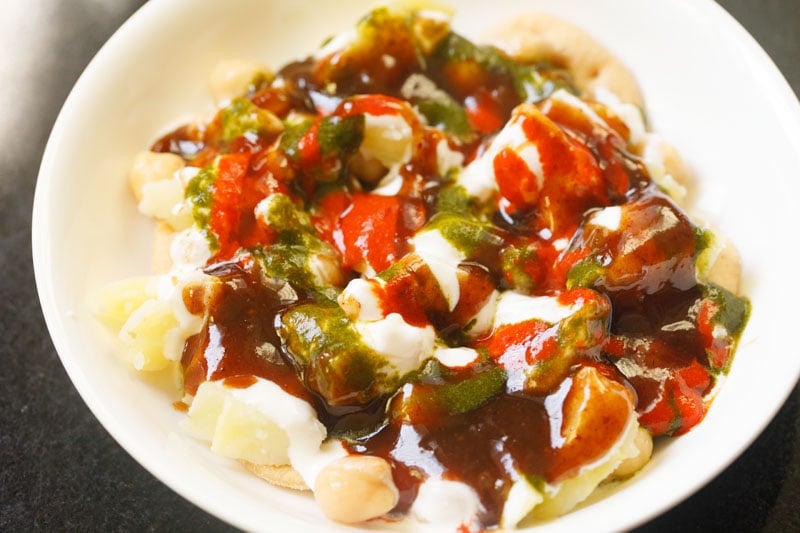
16. Add 1 to 2 tablespoons green mint coriander chutney, 2 to 3 tablespoons sweet tamarind chutney and 1 to 2 teaspoons spicy red chili garlic chutney.
Tip: Feel free to add less or more of each chutney, depending on your preferred taste.
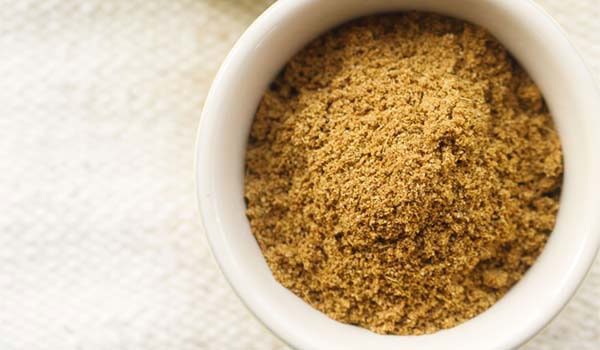
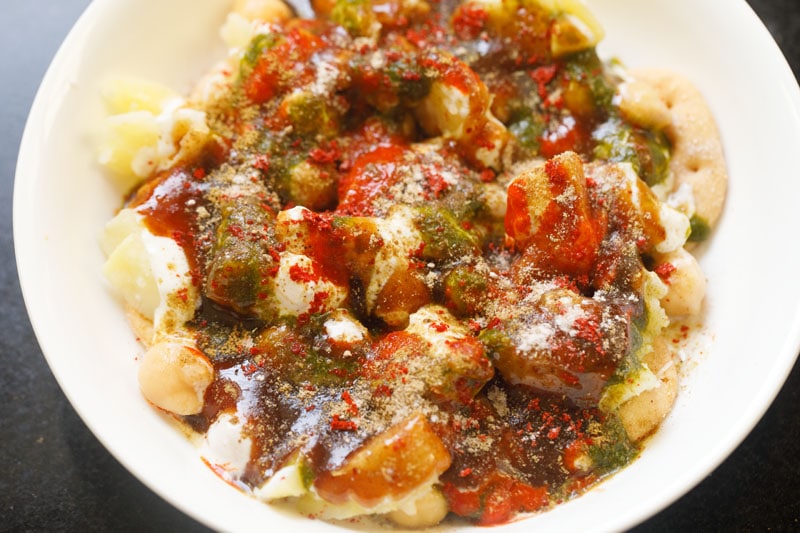
17. Sprinkle a few pinches of Chaat Masala Powder, Roasted Cumin Powder and optionally Kashmiri Red Chili Powder. Then, season it with a few pinches of black salt or regular salt.
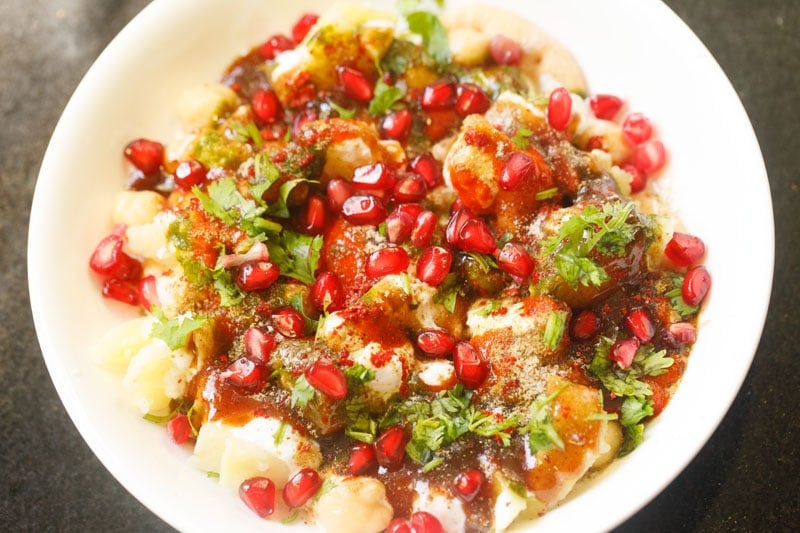
18. Garnish the Papdi Chaat with chopped coriander leaves and pomegranate arils to add beautiful colors and delicious textures.
If you do not have pomegranate, skip it.
19. Opt to add sev for some color and crispiness.
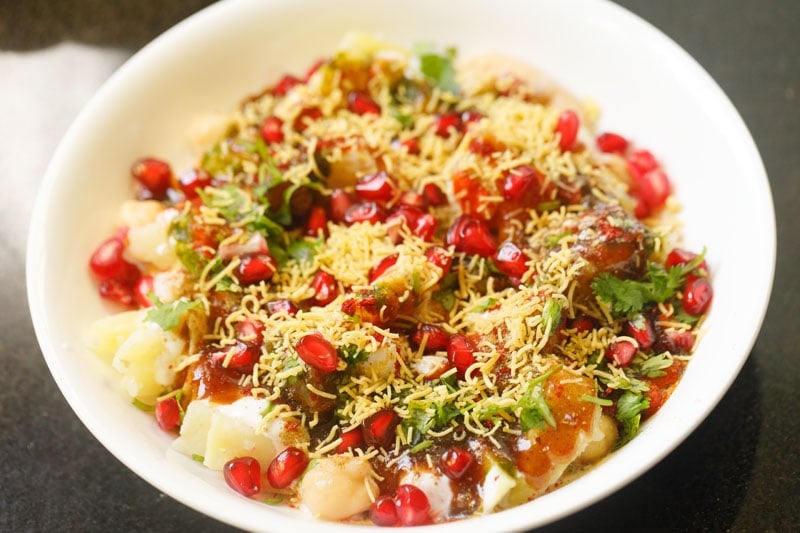
20. Serve Papdi Chaat immediately to ensure that it stays crispy. If it is left for too long, it may become soggy.
This way you can assemble the Papdi Chaat for your family or friends. Or choose to fill the various chaat elements in separate bowls and place them on the dining table. So, that people can assemble and make the chaat for themselves.

Expert Tips
- Make Papdi Chaat Healthy: If you want to make a more nutritious dish, then bake the papdis instead of frying. This will result in less greasy papdis. To make the dish healthier, add fruits like raw mango or fresh pomegranate pearls and vegetables or lentils like grated beetroot, carrots and cooked moong sprouts.
- Crispy Papdi: Always use fresh, crisp papdi. If it has turned soft, reheat it in an oven or air-fryer for a few minutes to bring back the crunch. Homemade or store-bought, texture matters.
- Substitutes: If you don’t have pakoris, feel free to substitute them with boondi. Before adding the boondi to the chaat, soak it in water, then squeeze the water from the boondi and add.
- Chilled Yogurt: If possible, try to use cold yogurt. You can lightly sweeten the yogurt with some sugar if you like.
- Use Fine Sev: Choose thin sev (like Nylon sev) instead of thicker varieties. It blends better with the soft and crunchy elements without overpowering the bite. Sprinkle it just before serving to maintain its crispness.
- Variations: It is very easy to customize this chaat to your likings. For instance, omit the pomegranate if you don’t have it, add less or more of your favorite chutneys and add sev for extra crispiness. It is completely up to you!
- Serving Suggestions: For best results, serve the Papdi Chaat straight away. Avoid leaving it out for some minutes, because then it will become soggy and won’t be as enjoyable.
FAQs
Can I get all the elements ready and have the guests assemble their own plates when serving Papdi Chaat?
Yes, it is better to let the guests assemble the chaat because it will become soggy if left out for some time. For assembling, add spice powders and salt, curd, cooked chana and boiled potatoes in separate bowls. Make sure you place the bowls in the correct order.
What is papdi made of?
Papdi is made with whole wheat flour or all-purpose flour, and sometimes spiced cumin, carom seeds or both. It is a small round savory cracker that is deep fried. You can buy it from a grocery store, supermarket or sweet shop, if you live in India or even make at home. If you live outside, then look for it in an Indian grocery store or buy online.
Is Papdi Chaat healthy?
Some of the elements of Papdi Chaat like chickpeas, veggies, chutneys, curd are healthy. If you make this snack with baked whole wheat papdi and baked sev or omit the fried sev, then it becomes more nutritious.
Are papdis available in regular grocery stores?
Yes, papdis are available in most of the Indian grocery stores but you can also make them at home, if you have time.
For Cooking Chickpeas, Potatoes
For Green Mint Coriander Chutney
For Sweet Tamarind Chutney
For Spicy Chilli Garlic Chutney
Cooking the chickpeas
-
If you want to add chickpeas to the papdi chaat, then some effort is needed. This is if you don’t want to use canned chickpeas.
-
Rinse chickpeas in water a couple of times. Soak them in 3 cups water overnight or for 8 to 9 hours.
-
Later drain the soaked water and rinse the chickpeas again a few time. Add the chickpeas to a 2 litre pressure cooker together with water and salt.
-
If you want to cook potato, then keep a potato in steel bowl. Place this steel bowl with the potato in it on the chickpeas and water mixture in the cooker. The potato and chickpeas will be cooked together.
-
Cover the cooker tightly with the lid and pressure cook on medium heat until the pressure starts building and you hear the hissing sound in the cooker. Then lower the heat a bit and pressure cook for 10 to 12 whistles.
-
When the pressure settles on its own in the cooker then only remove the lid.
-
Check the potato by piercing it with a knife or fork. It should be tender, soft and the knife or fork should easily pass through it. Lift the potato with a pasta tong and set it aside to cool at room temperature.
-
Check to see if the chickpeas are cooked. They should have a soft melt-in-the-mouth texture. Drain the water and set the cooked chickpeas aside.
Making the mint coriander chutney
Making the sweet tamarind chutney
-
Boil the tamarind and dates in water.
-
When they become soft add the jaggery and the spice powders and salt.
-
Cook further till the jaggery melts.
-
Switch off the heat and let the mixture cool.
-
Grind the chutney mixture to a fine and smooth paste. Seive the chutney through a strainer if needed. Add more salt if required.
-
If the chutney becomes too thick add some water to liquidize it.
Making spicy chili garlic chutney
-
Peel the garlic cloves and rinse them in water. Add them together with the kashmiri red chilli powder, salt and water to a small blender or chutney grinder jar or a spice grinder.
-
Blend to a smooth and fine consistency without any tiny chunks or bits.
-
Transfer the red chutney in a small bowl and set aside.
For assembling and making papdi chaat
-
Arrange 6 to 8 papdi in a shallow bowl or plate.
-
Top it up with some of the chopped boiled potato cubes and cooked chickpeas.
-
You can add chopped onions and tomatoes at this point, but it is optional.
-
Sprinkle some chaat masala, roasted cumin powder and optionally kashmiri red chili powder on it, if you want at this step.
-
Top these with whisked cold curd (yogurt) as you like.
-
Top it up evenly with 1 to 2 tablespoons of the green chutney as much as you want.
-
Then add 2 to 3 tablespoons of the sweet tamarind chutney and 1 to 2 teaspoons of the spicy chilli garlic chutney evenly. According to your taste preferences you can add less or more of each chutney.
-
Sprinkle some chaat masala, red chili powder, cumin powder and black salt or regular salt.
-
Garnish with coriander leaves and pomegranate arils. Sprinkle sev on top and this step is also optional.
-
Add a dash of lemon juice to the papri chaat if you prefer.
-
Serve papdi chaat immediately.
- Swap about 2.5 to 3 cups canned chickpeas or cooked chickpeas with dried chickpeas. Drain the liquids of the canned chickpeas, rinse them and then add to the chaat.
- You can omit making the spicy and pungent chilli garlic chutney. But do make the green chutney and tamarind chutney for the chaat.
- If you like, you can add finely chopped onions and tomatoes to the chaat.
- Personalize and customize the chaat according to your likings and taste preferences. Example add more sweet chutney if you prefer a more sweeter taste in your chaat.
- The chutneys can be prepped a day ahead and refrigerated in small covered containers or jars.
- You can halve the recipes of the various chutneys. The leftover green chutney keeps well for a couple of days in the refrigerator. The tamarind chutney keeps well for a few weeks in the fridge.
- For the papdi, make them yourself or if you have time or purchase from stores or shops.
- The recipe can be scaled to make a small batch or a large batch for parties or potlucks.
Calories: 706kcal | Carbohydrates: 139g | Protein: 22g | Fat: 13g | Saturated Fat: 3g | Polyunsaturated Fat: 5g | Monounsaturated Fat: 3g | Trans Fat: 1g | Cholesterol: 8mg | Sodium: 1735mg | Potassium: 2008mg | Fiber: 28g | Sugar: 67g | Vitamin A: 10346IU | Vitamin B1 (Thiamine): 1mg | Vitamin B2 (Riboflavin): 1mg | Vitamin B3 (Niacin): 7mg | Vitamin B6: 1mg | Vitamin B12: 1µg | Vitamin C: 30mg | Vitamin D: 1µg | Vitamin E: 13mg | Vitamin K: 57µg | Calcium: 362mg | Vitamin B9 (Folate): 338µg | Iron: 13mg | Magnesium: 205mg | Phosphorus: 521mg | Zinc: 5mg
Papdi Chaat recipe from the archives was first published on November 2011.