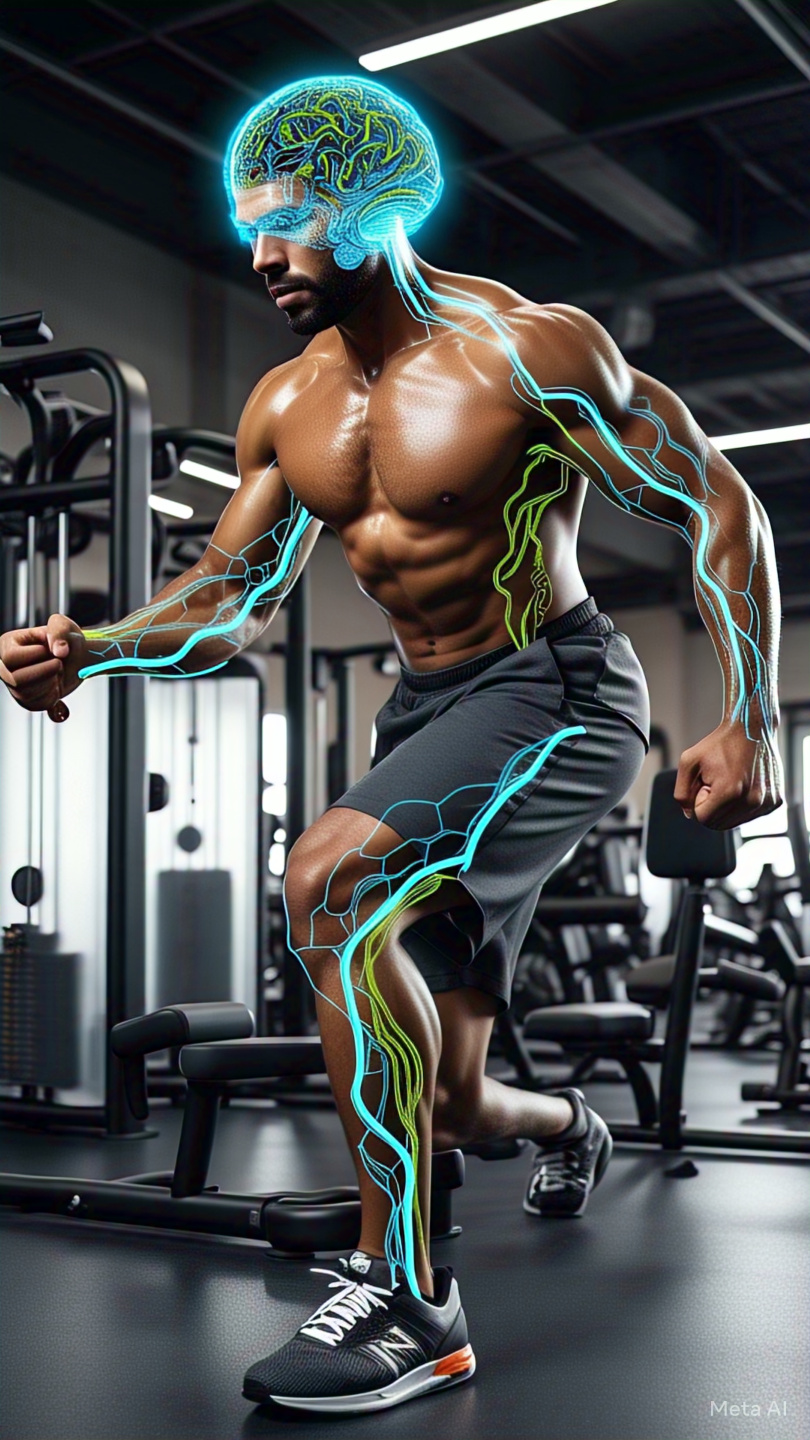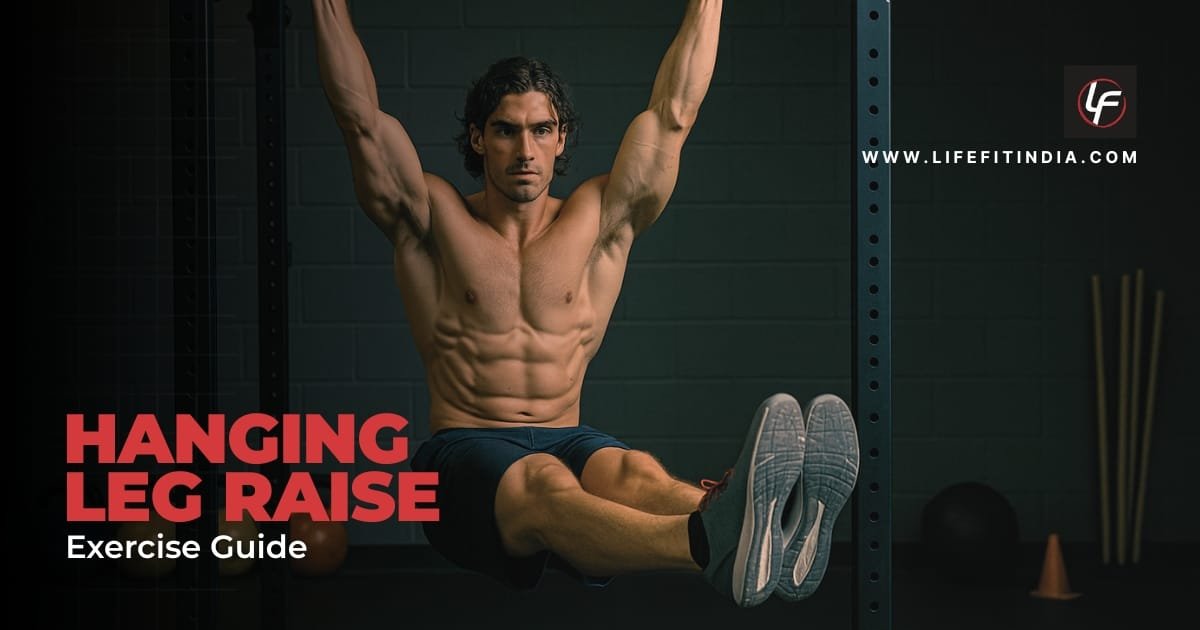
The hanging leg raise is a cornerstone of advanced core training. It is a challenging bodyweight exercise that builds significant strength and stability throughout your midsection.
This guide provides a comprehensive look at the exercise, grounded in scientific principles, to help you master the movement, avoid common mistakes, and achieve your fitness goals.
What is a Hanging Leg Raise? (And Why It’s a Top-Tier Core Exercise)
The hanging leg raise is an advanced bodyweight exercise that challenges the entire anterior core chain, from your grip down to your pelvis. It begins from a dead hang on a pull-up bar, from which you raise your legs towards the ceiling.
The movement’s value is validated by scientific research. A landmark McGill et al. (2014) study published in the Journal of Sports Science found that the hanging leg raise generated muscle activation greater than 130% of Maximum Voluntary Contraction (MVC) in the rectus abdominis, the primary “six-pack” muscle. This makes it one of the most effective abdominal exercises you can perform.
The Science of Six-Packs: Hanging Leg Raise Muscles Worked

Understanding the muscles involved is key to performing the exercise correctly.
Primary Movers: The Abdominals
- Rectus Abdominis: This is the muscle responsible for the coveted “six-pack” look. Its main function here is spinal flexion, which means curling your pelvis up towards your ribcage. The true work in a hanging leg raise comes from this curling motion, not just from lifting the legs.
- Obliques (Internal & External): Your obliques are located on the sides of your torso. During the hanging leg raise, they play a crucial role in stabilizing your body, preventing excessive swinging, and assisting with the pelvic curl.
Key Synergists & Stabilizers
- Hip Flexors (Iliopsoas & Rectus Femoris): These muscles are responsible for lifting your legs, an action known as hip flexion. While they are necessarily involved, a common mistake is allowing them to dominate the movement at the expense of the abdominals. Research from 2019 in Progress in Rehabilitation Medicine details the specific roles of the psoas major and iliacus as the primary muscles that lift the legs.
- Forearms & Grip: For many people, grip strength is the first thing to fail. Your forearms work hard isometrically to maintain a secure hold on the bar for the duration of the set.
- Lats & Shoulders (Latissimus Dorsi & Scapular Stabilizers): Your upper back muscles are active participants. They create a stable “active hang” by pulling the shoulder blades down, which is essential for controlling momentum and preventing swinging.
The #1 Mistake: Are You Working Your Abs or Just Your Hips?
A frequent complaint about this exercise is feeling it more in the front of the hips than in the abs. This happens when the hip flexors take over the movement.
Hip Flexion vs. Trunk Flexion: The Biomechanical Secret
Understanding the difference between two key movements is the secret to unlocking the full potential of this exercise.
- Hip Flexion: This is simply the act of hinging at your hips to lift your legs. If your pelvis and lower back do not move, the action is driven almost entirely by the hip flexor muscles.
- Trunk Flexion: This is the movement that truly engages your abdominal muscles. It is achieved through a posterior pelvic tilt, which is the conscious act of using your abs to curl the bottom of your pelvis forward and up. This action naturally causes your lower spine to round slightly.
A 2015 study in the Journal of Physical Therapy Science provides the scientific backing for this technique. The research showed that activation of the rectus abdominis increases significantly when the legs move past a 45-degree angle, as this is the point where the pelvis must start to rotate and curl to continue the movement.
How to Do a Hanging Leg Raise: The 5-Step Perfect Form Checklist
Follow these steps for a perfect, ab-focused hanging leg raise.
- The Setup (Grip & Hang): Grasp a pull-up bar with an overhand grip, slightly wider than your shoulders. Create an “active hang” by engaging your lats and pulling your shoulder blades down and back. This initial stability is crucial.
- Pre-Tension (The Pelvic Tilt): Before you move your legs, initiate a slight posterior pelvic tilt. This will pre-engage your lower abs and help prevent the initial swing.
- The Ascent (Curl, Don’t Just Lift): As you exhale, focus on curling your pelvis up toward your ribcage, similar to a reverse crunch in the air. Your legs will follow the motion of your pelvis. Aim to raise your legs until they are at least parallel to the floor.
- The Peak Contraction: Pause for a full second at the top of the movement, squeezing your abdominal muscles tightly.
- The Controlled Descent: Inhale as you slowly lower your legs back down, resisting gravity. This lowering phase should take 2-3 seconds, as this eccentric control is vital for building strength.
Common Hanging Leg Raise Mistakes (And How to Fix Them)
Avoid these common errors to maximize effectiveness and safety.
1. Swinging & Using Momentum
- Problem: Using your body’s swing to throw your legs upward.
- Why it Happens: This is a compensation for a weak core or a lack of body control.
- The Fix: Focus on the foundational cues: start with an active hang, pre-tense the core with a pelvic tilt, and move slowly. If you still swing, you should regress to an easier variation.
2. Arching the Lower Back
- Problem: A noticeable arch in the lower back, especially at the bottom of the rep.
- Why it Happens: This indicates that the abdominal muscles are not strong enough to maintain the posterior pelvic tilt, allowing the hip flexors to pull the pelvis and spine out of position.
- The Fix: Concentrate on keeping your abs engaged and your pelvis “tucked” throughout the entire movement. If you cannot avoid an arch, the exercise is too advanced, and you should choose an easier progression.
3. Dropping Your Legs
- Problem: Letting your legs fall quickly and without control.
- Why it Happens: This usually occurs from rushing the set and not valuing the eccentric (lowering) phase of the lift.
- The Fix: Consciously control the descent, aiming for a 2-3 second count. This control is essential for muscle development.
Hanging Leg Raise vs. Captain’s Chair: Which is Right For You?
The Captain’s Chair is a valuable piece of gym equipment, especially as a stepping stone to the free-hanging version. The primary difference is the support provided by the back pad and armrests. This reduces the demand on your grip strength and the stabilizing muscles in your shoulders and lats, allowing you to isolate your abdominals more effectively.
Our Pro Series Dip Chin Assist Machine is an excellent option for performing this variation.

Your Progression Roadmap: From Beginner to Beast
Here is a step-by-step path to help you master the hanging leg raise, no matter your current fitness level.
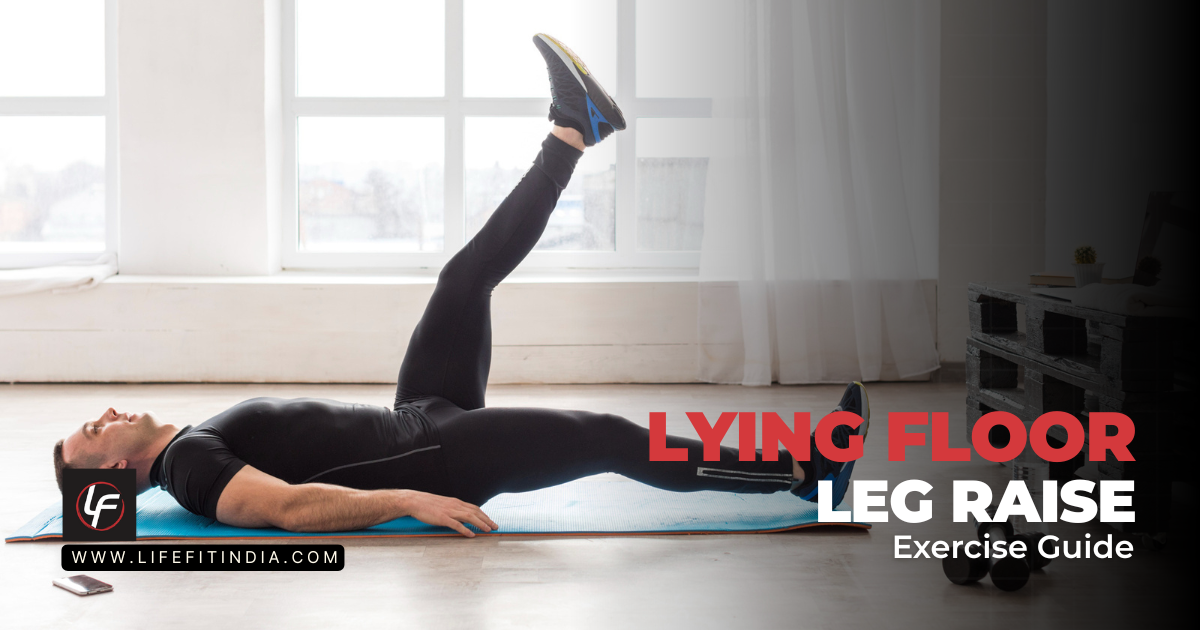
Level 1: Building the Foundation (On the Floor)
Before you can hang, you must build a solid foundation of core strength. Start with exercises like the Lying Floor Leg Raise and Reverse Crunches. A comfortable Yoga Mat can make these floor exercises more pleasant.
Level 2: Introducing Suspension (Captain’s Chair)
The Captain’s Chair is the perfect bridge from floor exercises to hanging exercises. You can use a dedicated station like our Assist Dip Chin machine to perform both bent-knee and straight-leg raises.
Level 3: The First Hang (Bent Knee Variations)
Once your foundational strength is solid, it’s time to hang. Begin by performing Dead Hangs to build grip endurance, then progress to Hanging Knee Raises.
Level 4: The Classic (Straight Leg Variations)
This is the target exercise. Perform the standard Hanging Leg Raise, focusing on raising your legs to a 90-degree angle with perfect form.
Level 5: Advanced Mastery
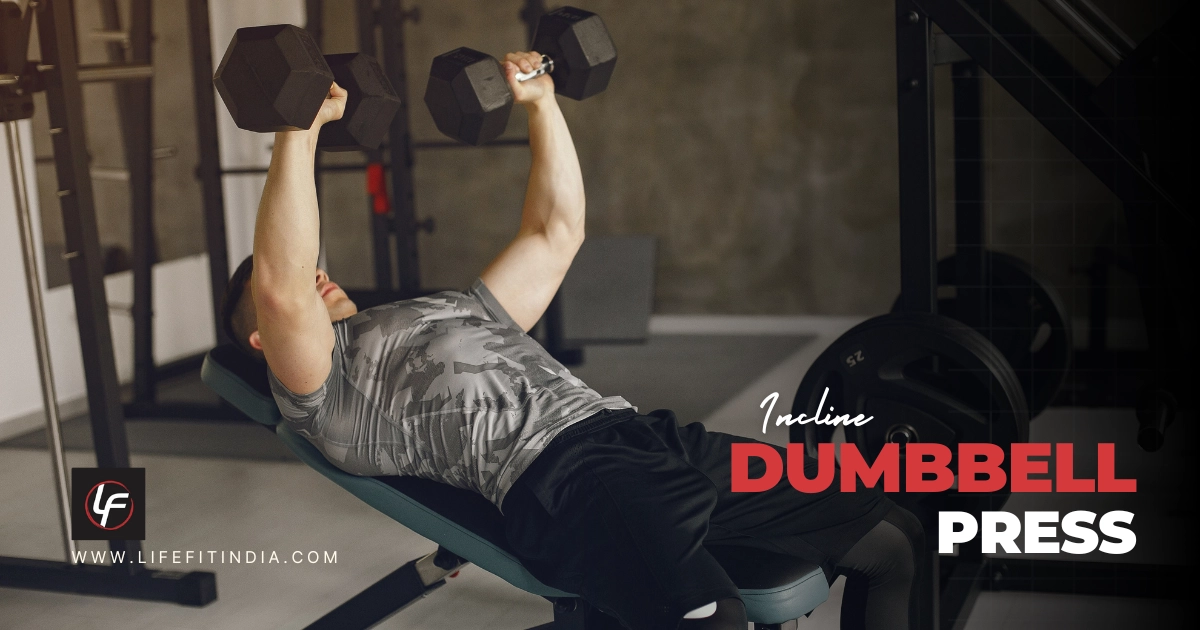
For those who have mastered the classic version, you can increase the challenge. Try variations like Toes-to-Bar, Hanging Windshield Wipers, or add resistance by holding one of our Hex Dumbbells between your feet.
Hanging Leg Raise Alternatives (For When You Don’t Have a Bar)
If you don’t have access to a pull-up bar, you can still effectively train your core with these powerful alternatives:
- V-Ups
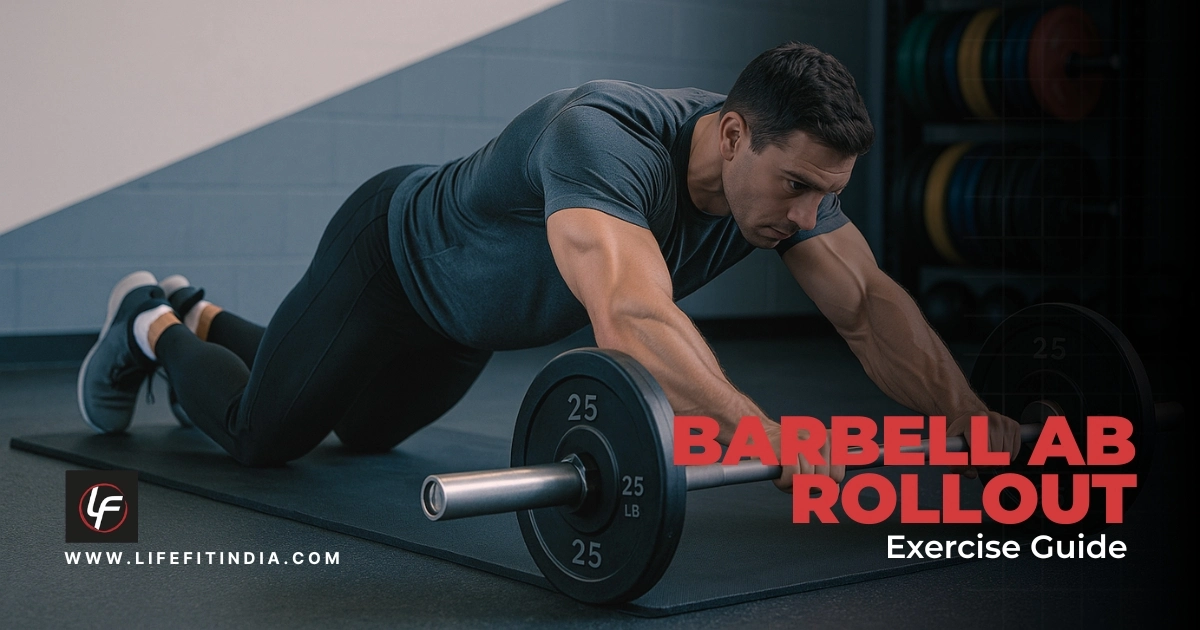
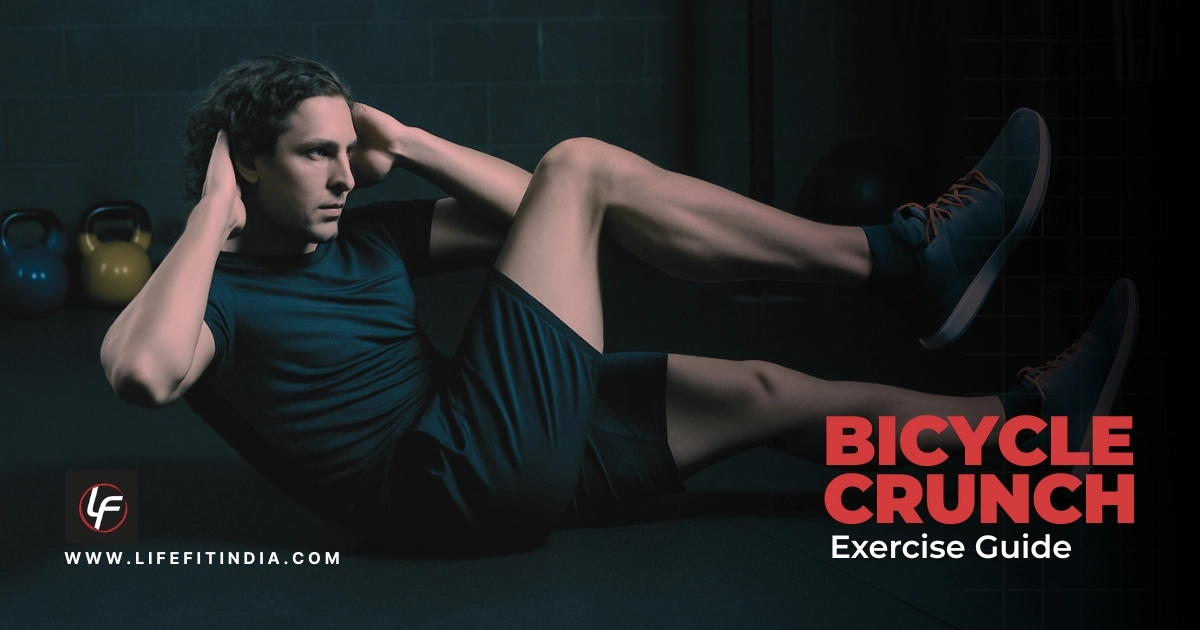
- Bicycle Crunches
- Dragon Flags
- Stability Ball Tucks
Programming: Sets, Reps, and Frequency
Here is how to incorporate this exercise into your training plan.
- For Strength Development: Focus on perfect form with lower repetitions. Aim for 3-4 sets of 6-10 challenging reps.
- For Muscular Hypertrophy/Endurance: Use higher repetitions while still maintaining strict form. Aim for 3-4 sets of 10-20+ reps. Remember that the quality of the muscle contraction is more important than the number of reps you perform.
It’s often best to place hanging leg raises at the end of your strength training session. This ensures that a fatigued grip does not negatively impact your main compound lifts.
Frequently Asked Questions (FAQ)
Here are answers to some of the most common questions about hanging leg raises.
1. How many hanging leg raises should I do to lose belly fat?
It is a common misconception that you can “spot reduce” fat from a specific area. While hanging leg raises are excellent for building and defining your abdominal muscles, visible abs are the result of overall body fat reduction. This requires a consistent, healthy diet and a comprehensive exercise plan. You can learn more from our guides on how to get a flat belly and healthy eating for weight loss.
2. Why can’t I do a hanging leg raise?
The most common limiting factors are: 1) insufficient grip strength, 2) a core that is not yet strong enough, 3) tight hamstrings, or 4) improper form. The solution is to follow the “Progression Roadmap” outlined above to build the necessary strength and skill.
3. Are hanging leg raises bad for your back?
When performed with correct form, including a posterior pelvic tilt, hanging leg raises can strengthen the core muscles that support and protect your spine. However, performing them incorrectly with an arched lower back can place stress on the lumbar spine. If you experience back pain, it is crucial to correct your form and consult with a professional. You may also find our article on exercises for back pain helpful.
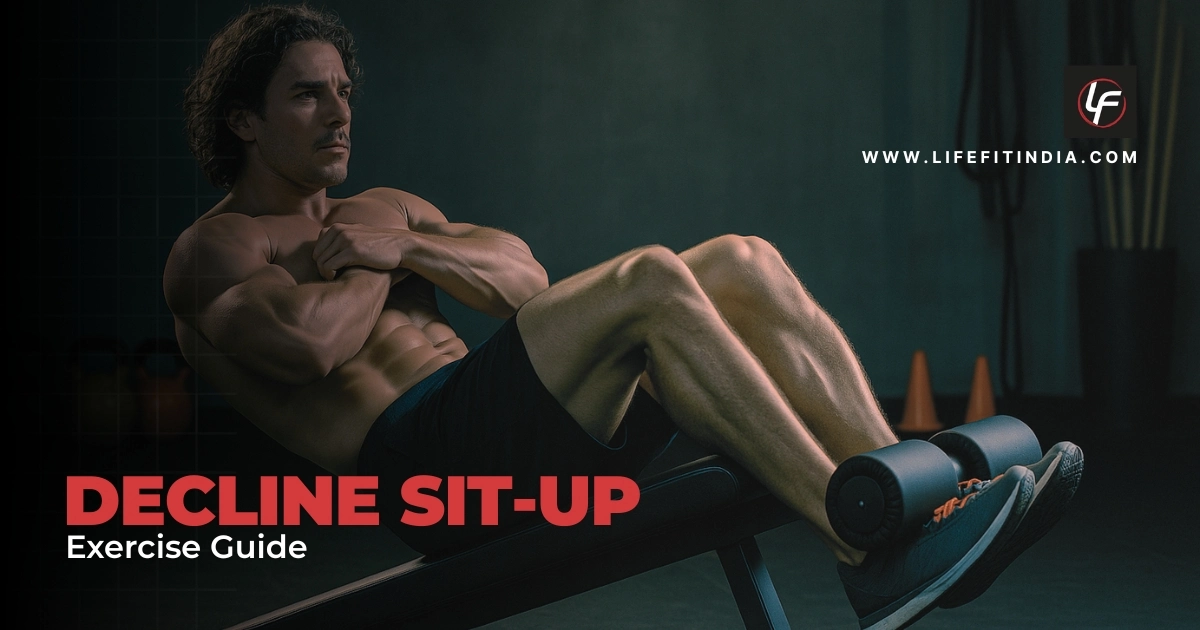
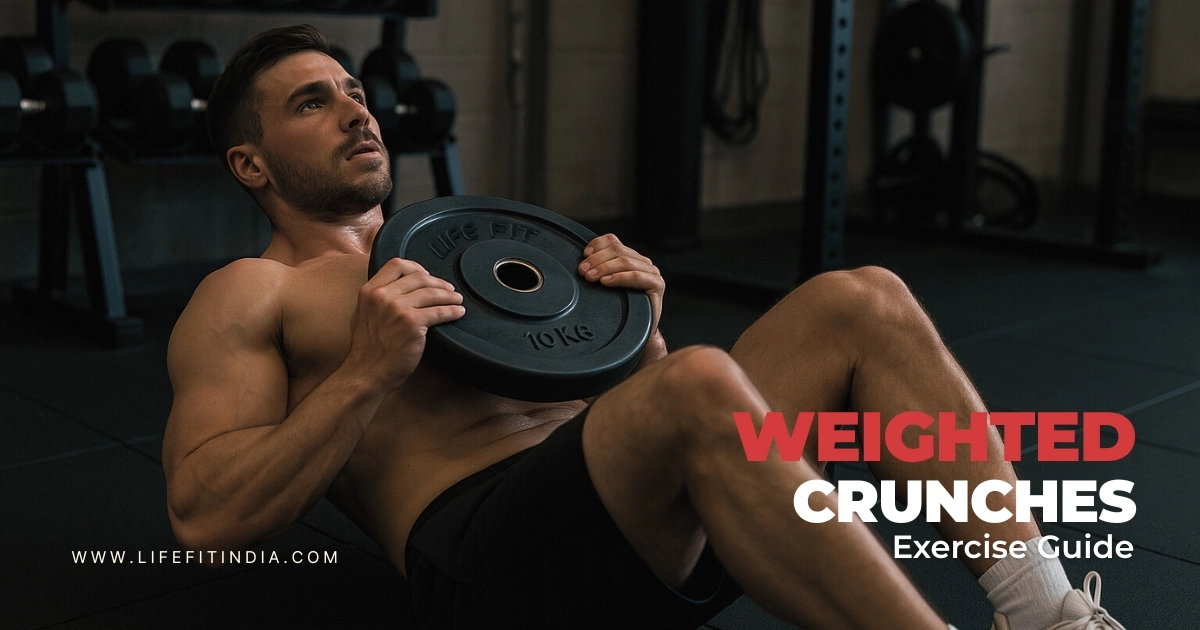
4. What’s better, hanging leg raises or crunches?
These exercises work your abs in different ways. Crunches and sit-ups are “top-down” abdominal exercises, while hanging leg raises are a “bottom-up” movement. The hanging leg raise presents a greater overall challenge, recruits more stabilizing muscles, and research suggests it elicits a higher degree of muscle activation compared to many floor exercises.
What’s your biggest challenge with hanging leg raises? Is it grip strength, swinging, or feeling it in your hips? Share your experience in the comments below.